
Skip to content
HIGH TECH HUB
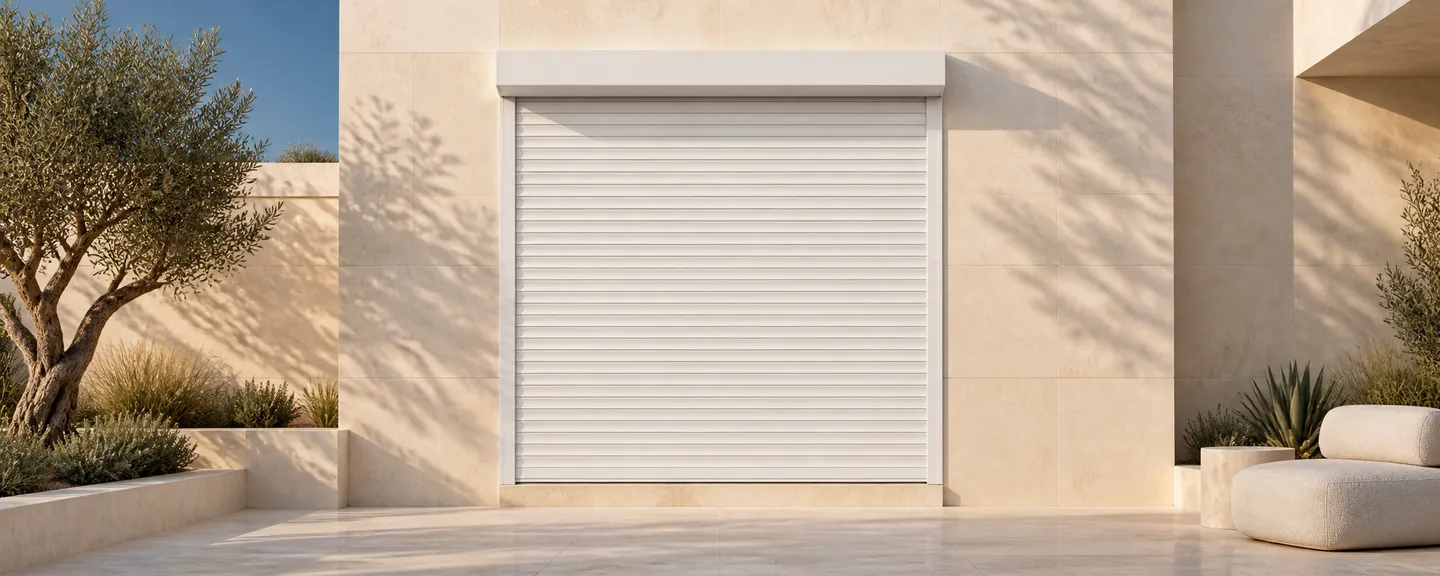
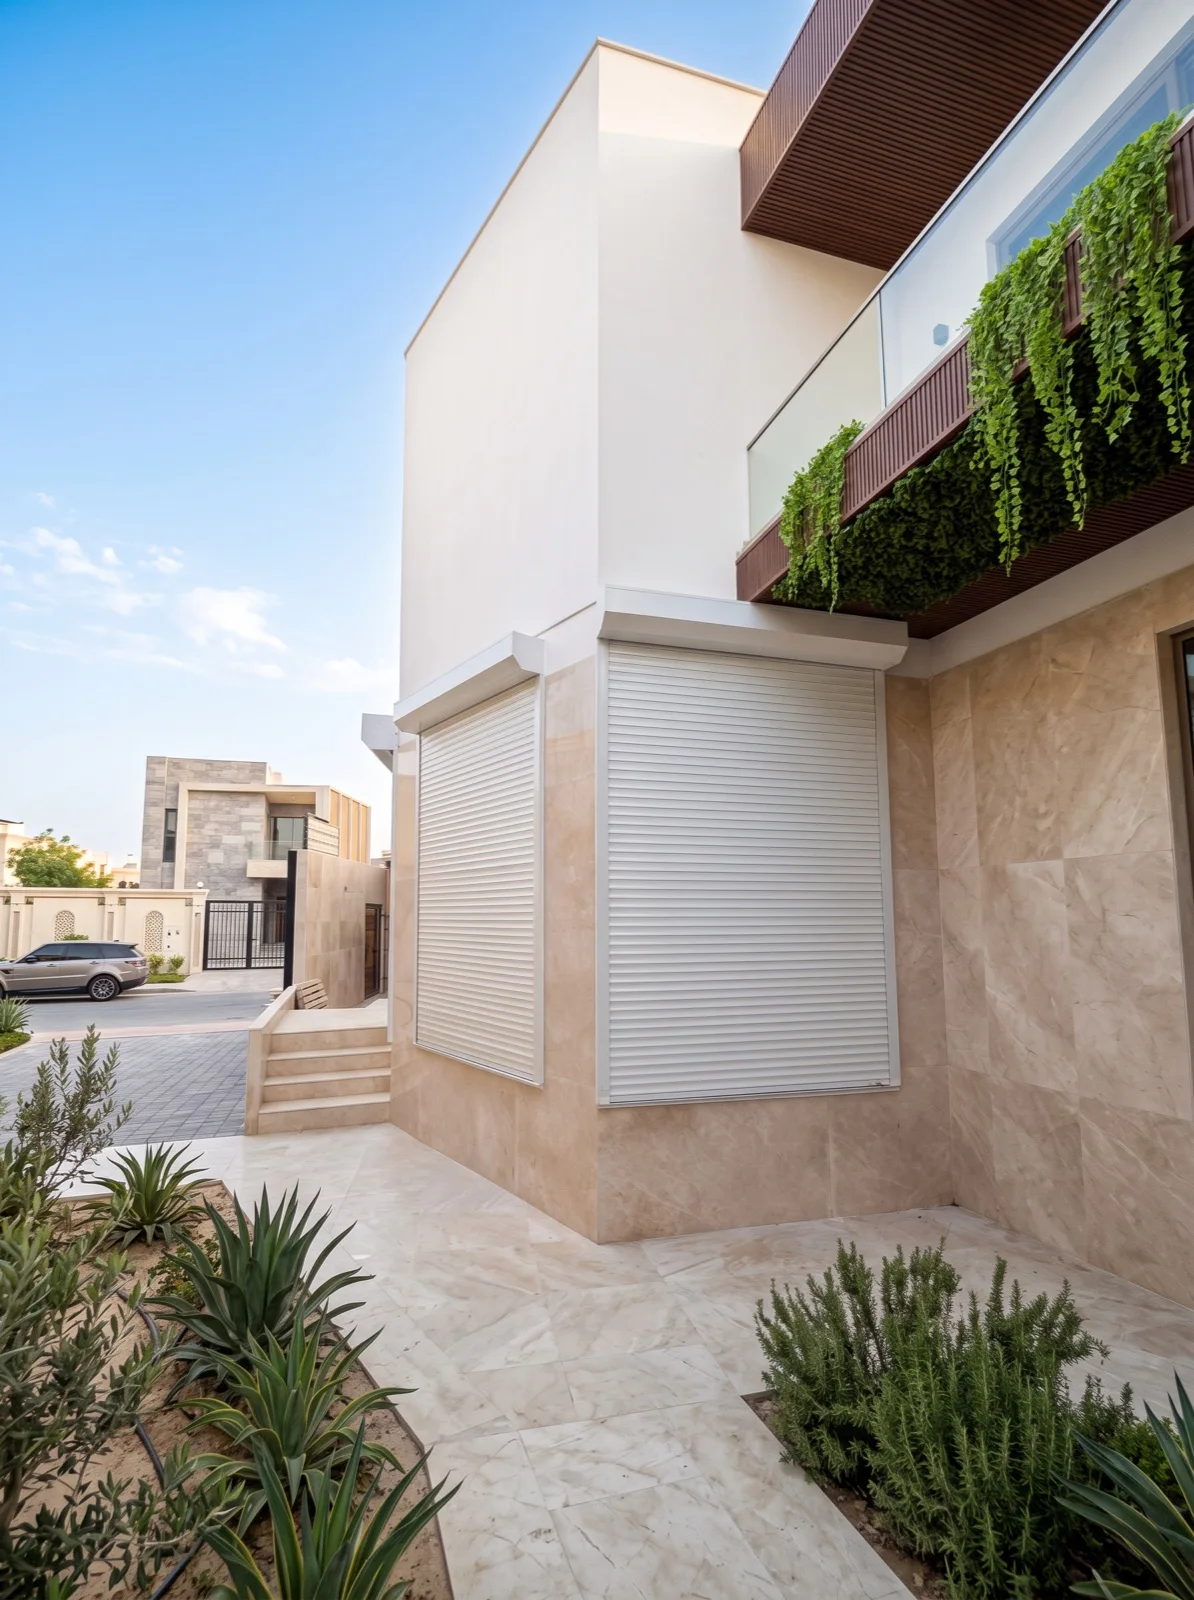
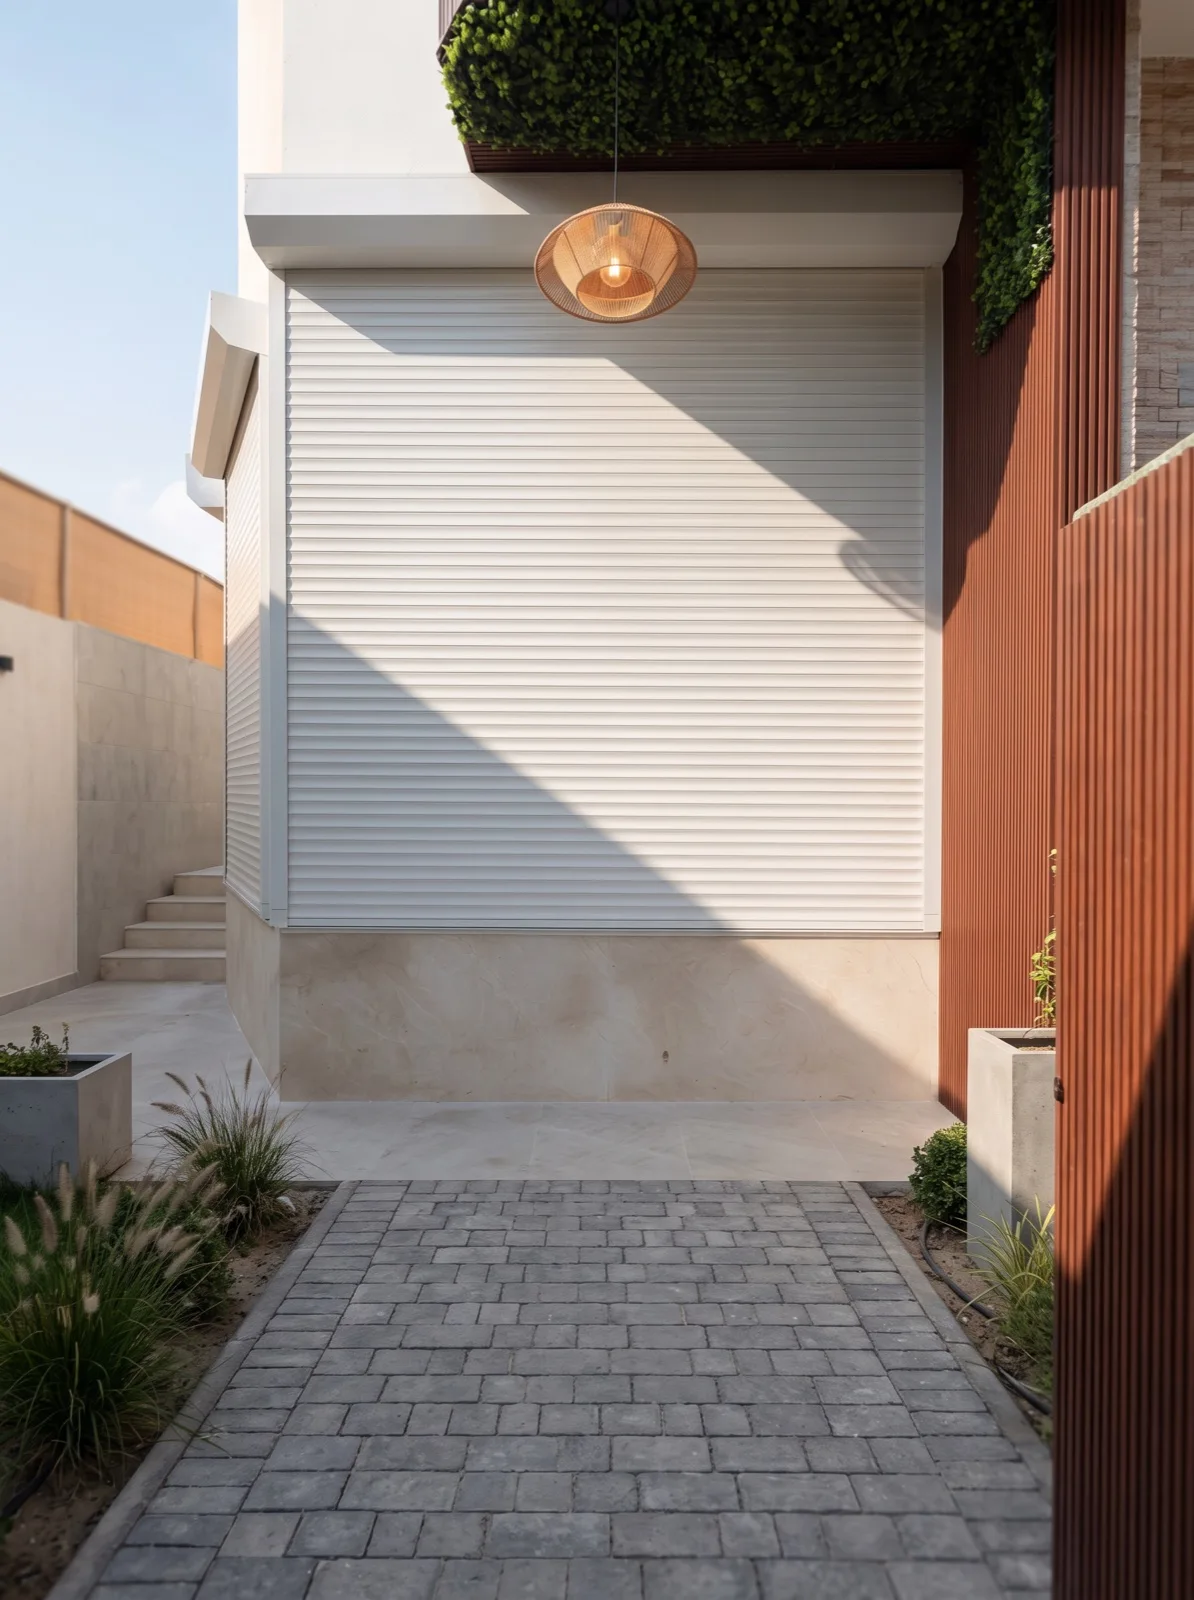
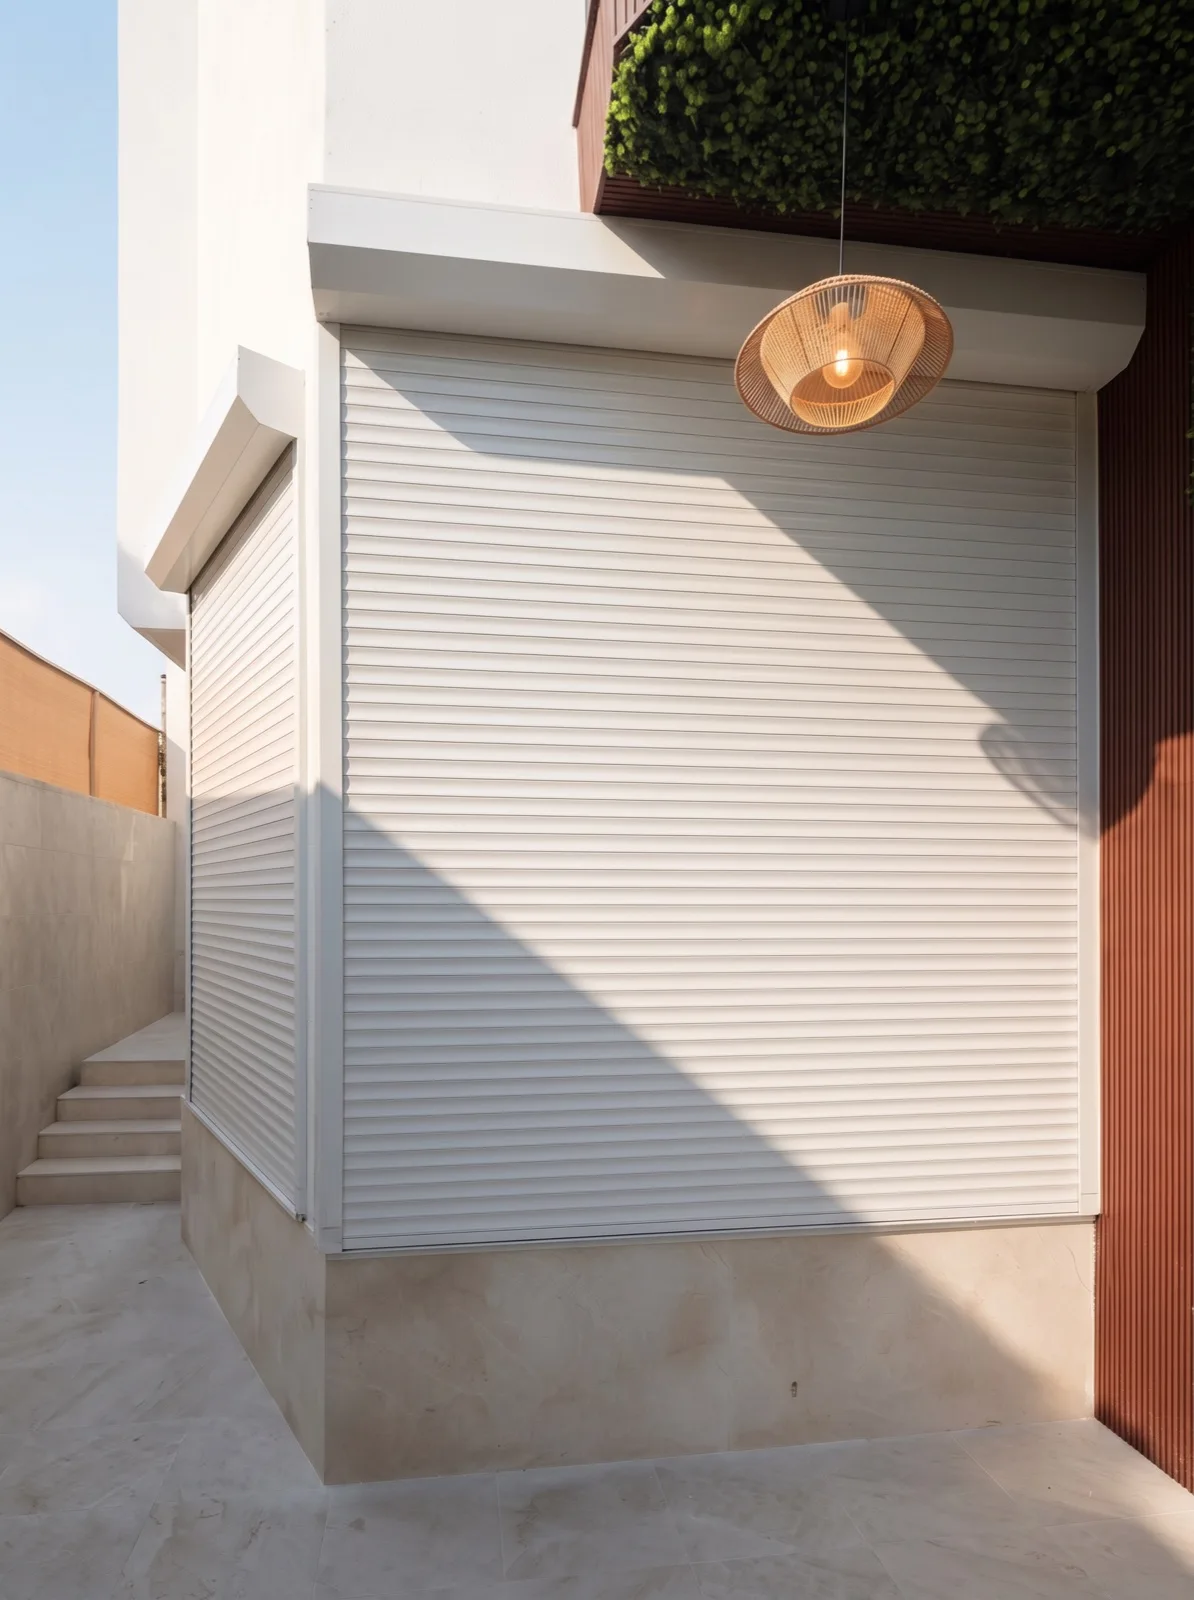
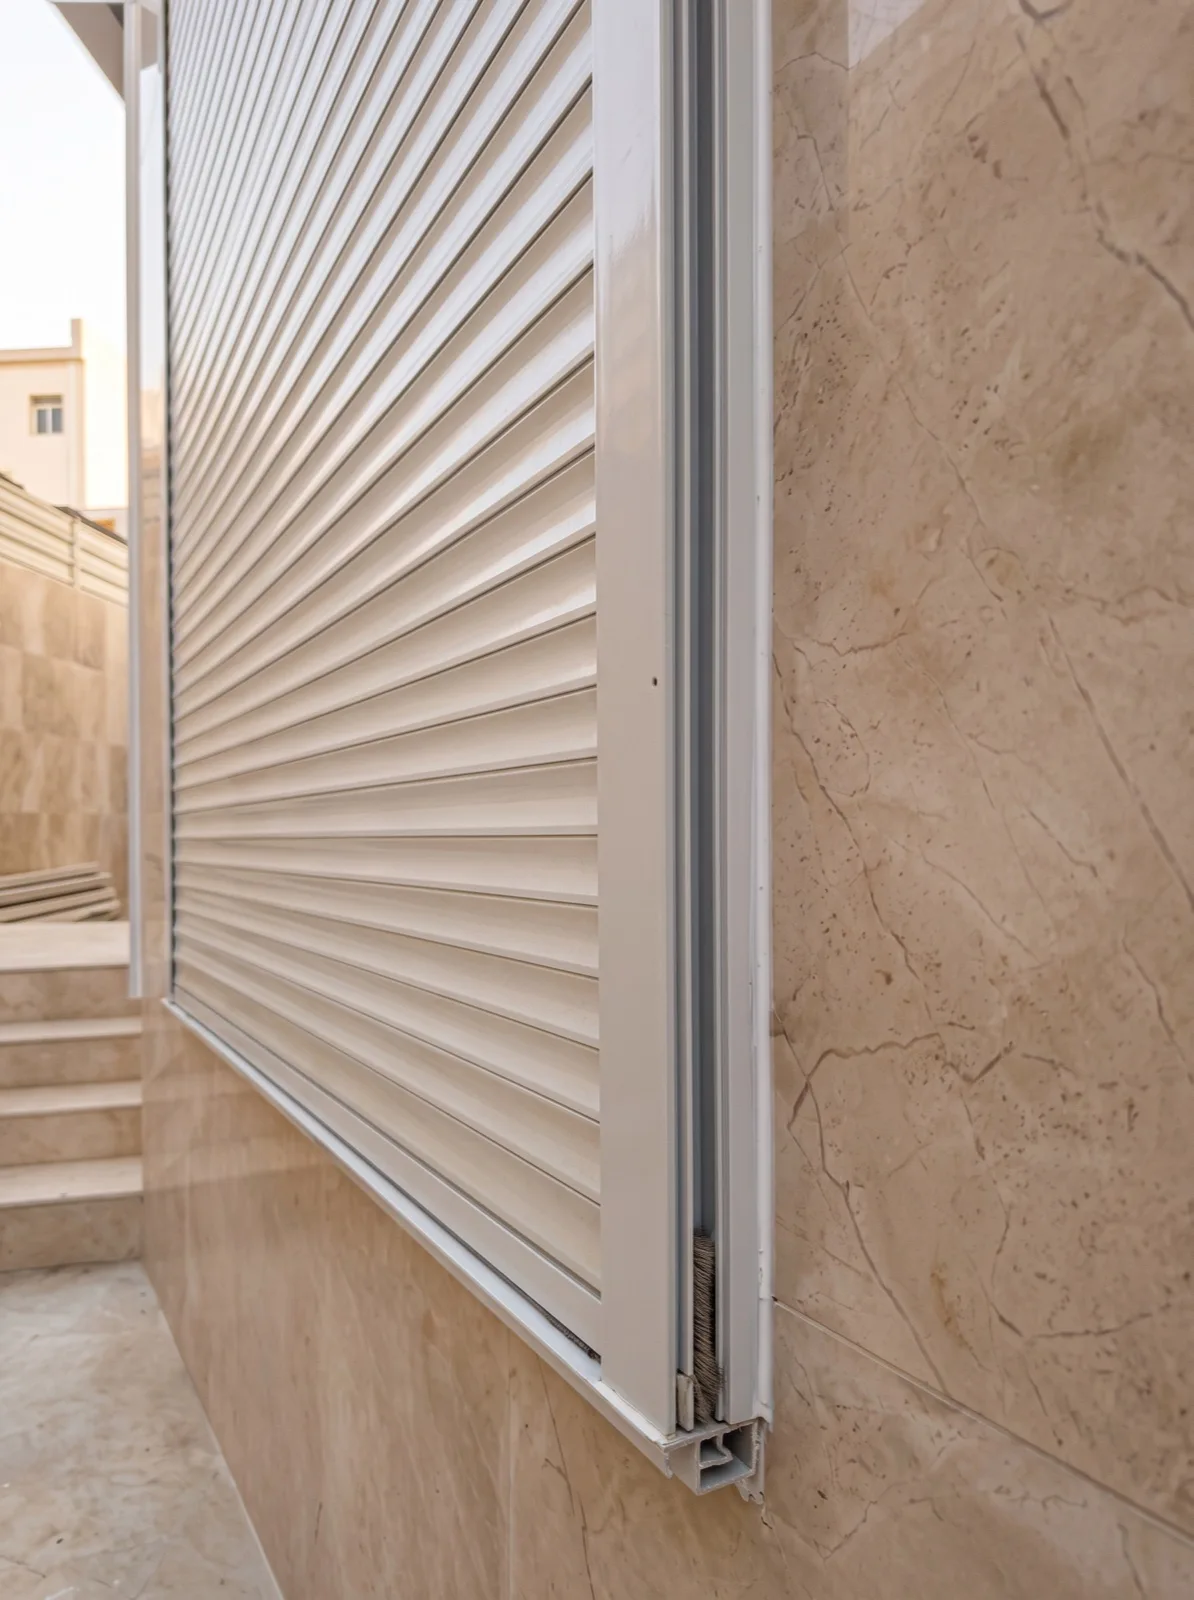
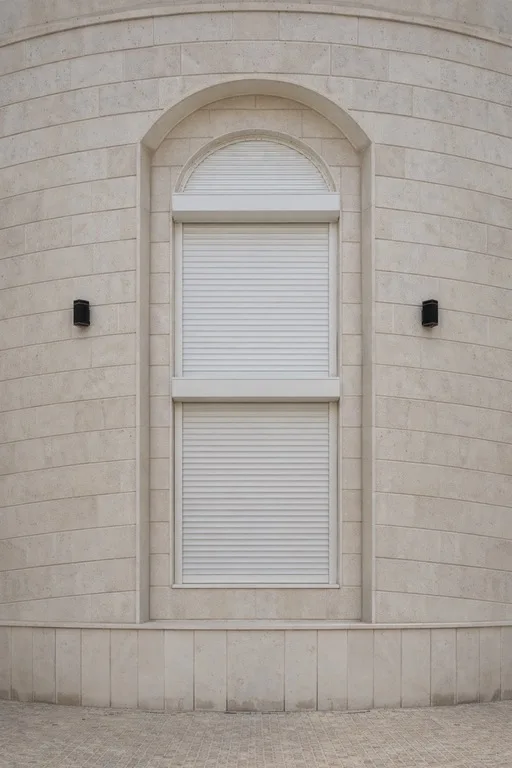
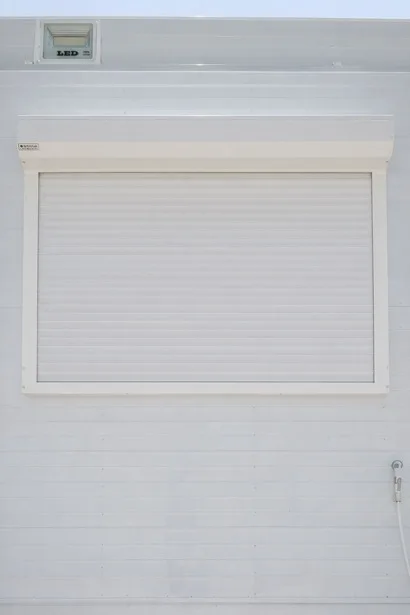
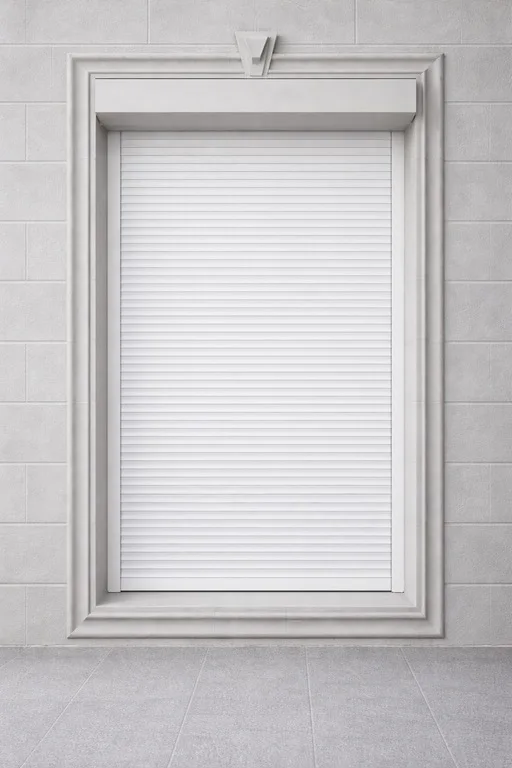
White roll-up window shutter on a limestone courtyard facade

WINDOW SHUTTERS · QATAR

Privacy for your home. A finish that belongs.

Exterior window shutters for villas in Qatar. Control light and privacy, with a finish and mounting arrangement chosen for your home.

Send a window photo

Start with one photo. Exact measurements can come later.

THE SAME CORNER, RECONSIDERED

Before. And after.

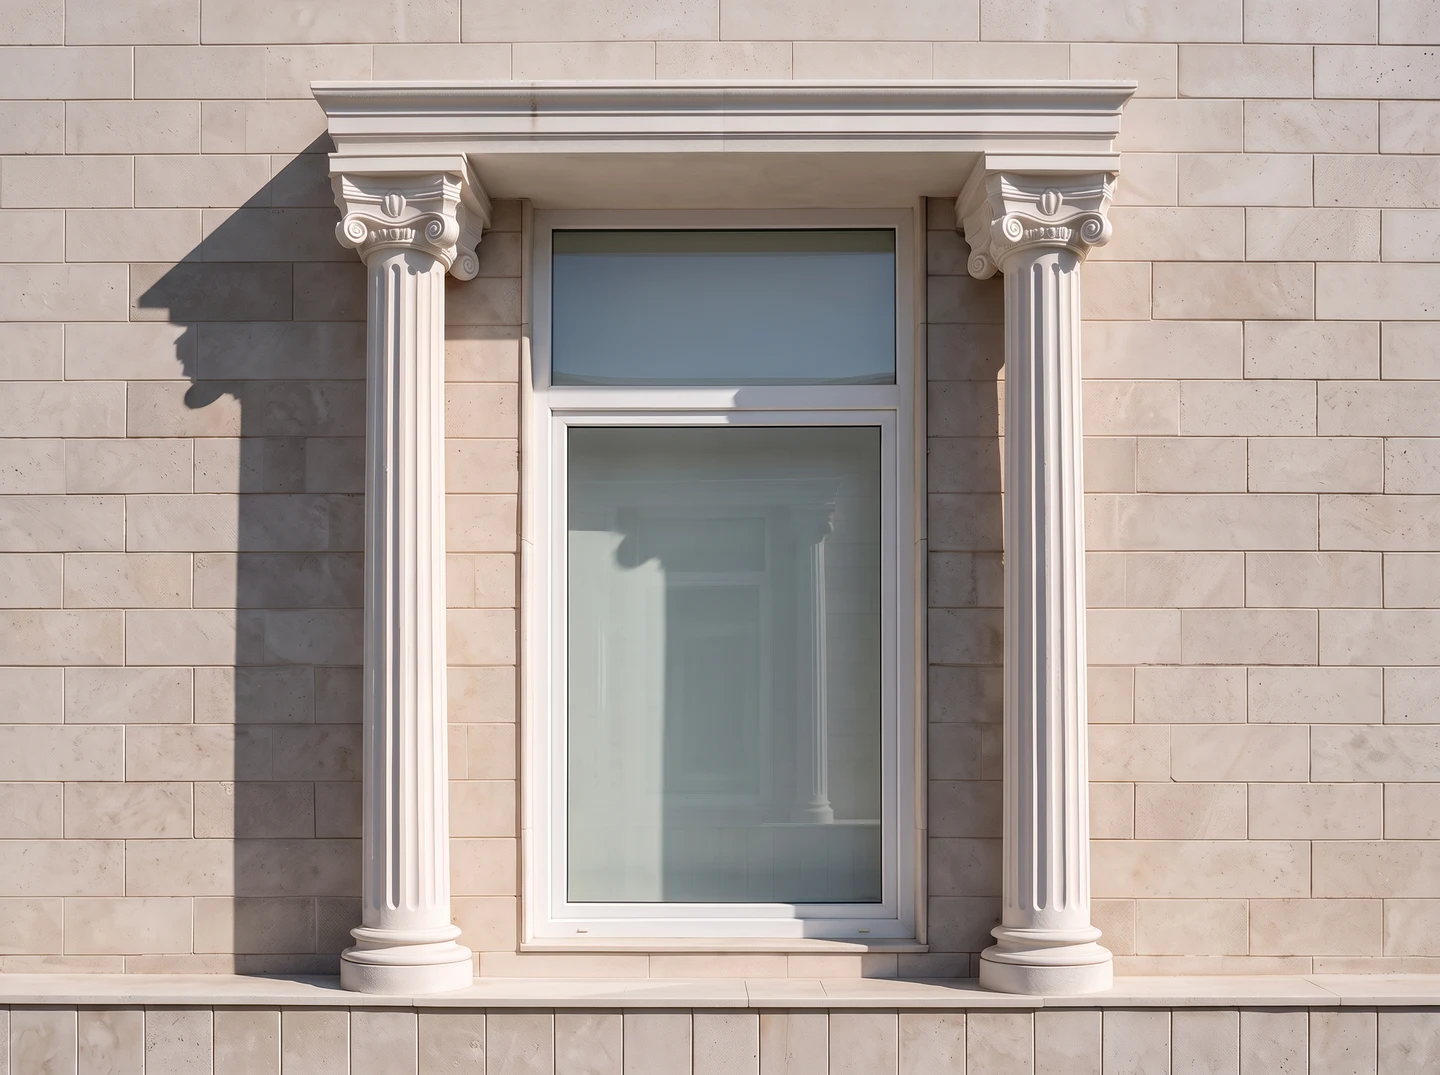
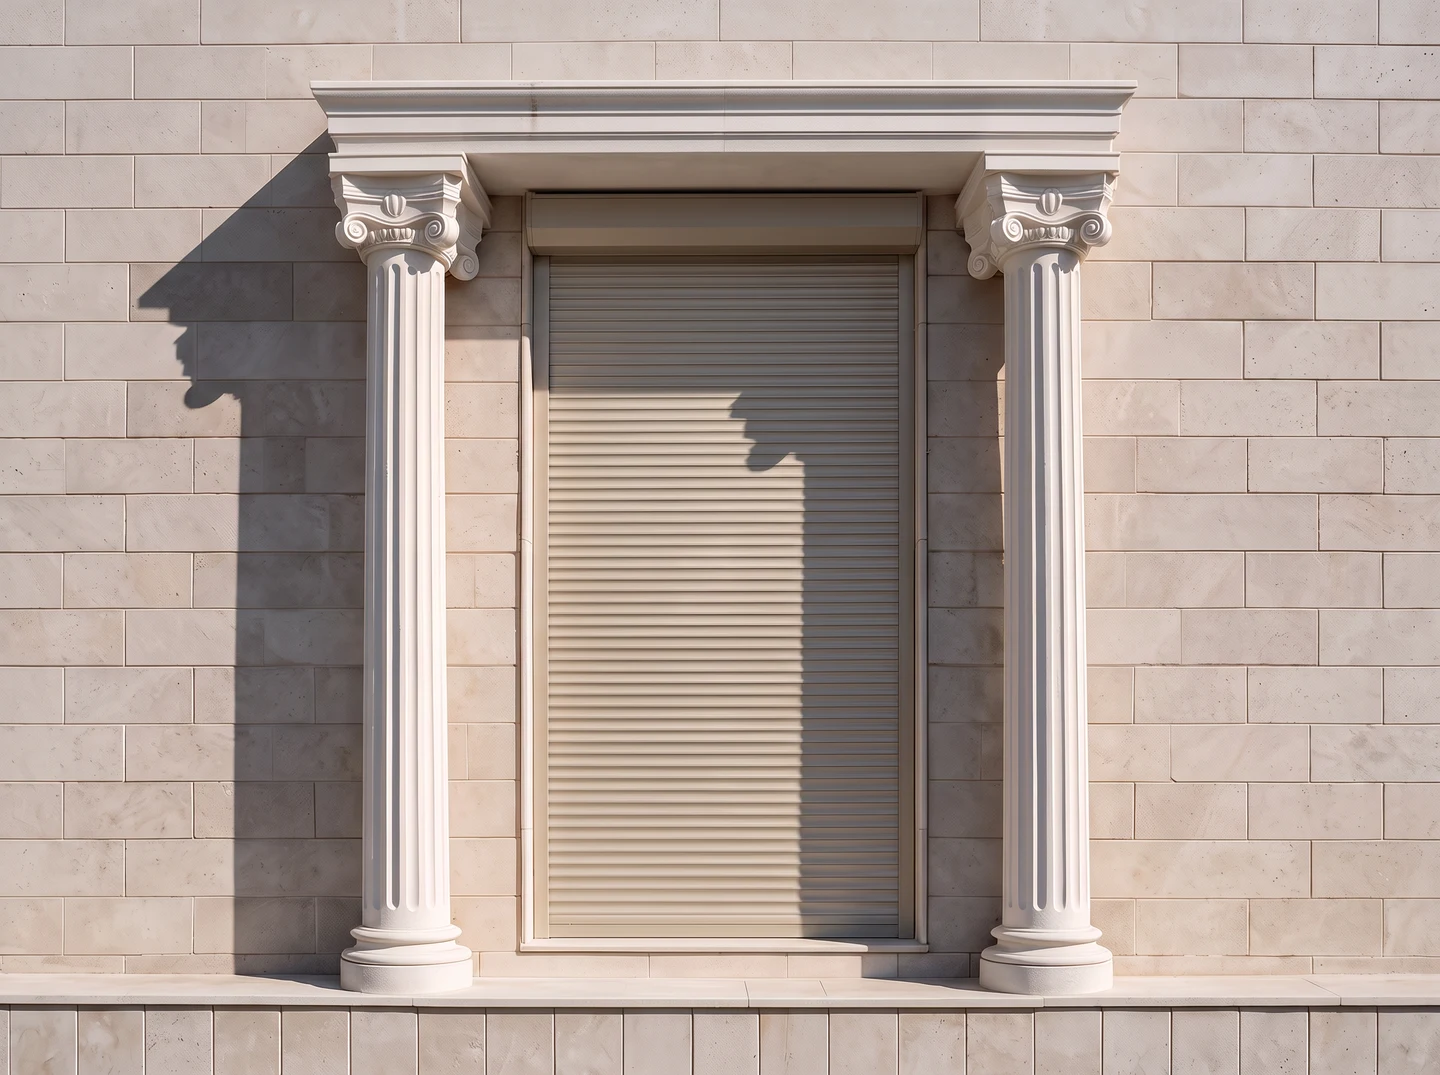
Drag to compare the same corner of the villa, with the shutter closed.

The villa corner window, unshuttered The same villa corner window, with the shutter closed Before After

Open for daylight.
Close for privacy.

From bedroom windows to the majlis, choose when to welcome daylight and when to screen the view from outside. Closing the shutters also reduces incoming light and your view out.

Privacy when you need it

Lower the shutter to screen the view from outside. Raise it when you want daylight and an open view.

A finish that suits the facade

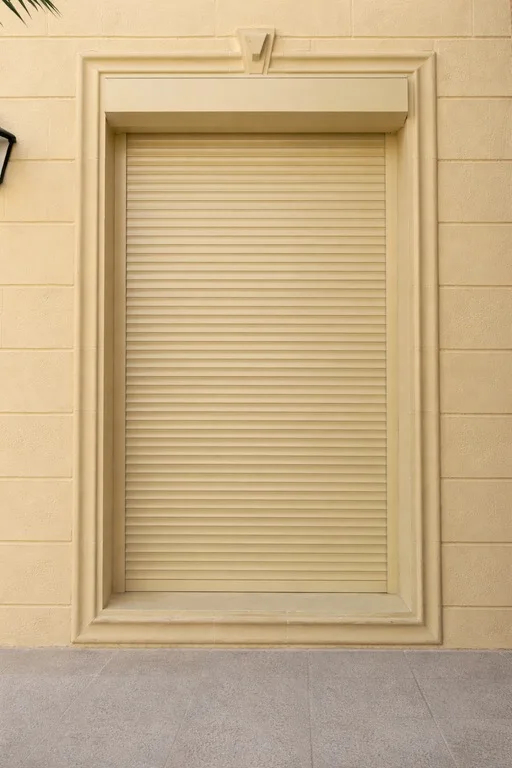
White and beige are standard, with other colors on request. Consider the finish and box position together to picture the result on your home.

Operation that fits your day

Prefer manual or motorized operation? We discuss suitable options for your windows, including control positions and power requirements.

Ready to protect your windows?

Send photos or measurements of your windows, and we'll walk you through the options on WhatsApp.

Send a window photo

Window photo · Color choice · Measurement coordination

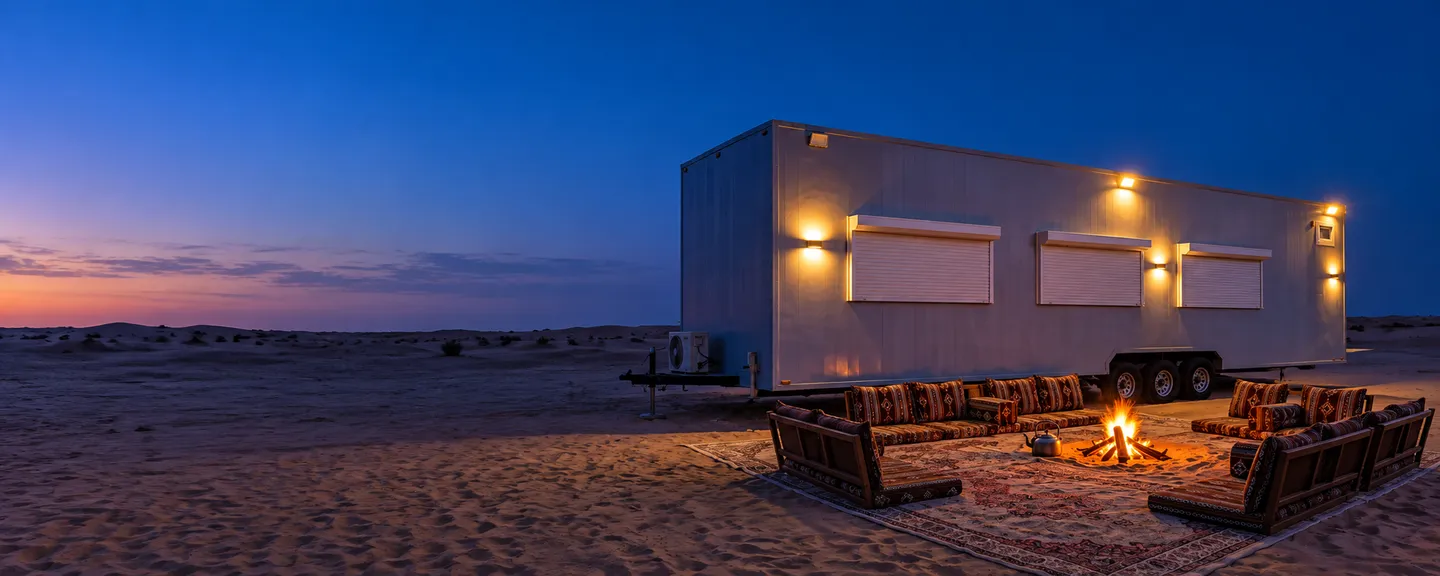
A lit cabin and seating area at a desert camp after sunset

SHUTTERS FOR KASHTA

Your cabin. Ready for downtime.

Privacy while you’re there. A considered way to close up when you leave. Choose shutters around your cabin, its windows and your routine.

Explore cabin shutters
Illustrative cabin setting
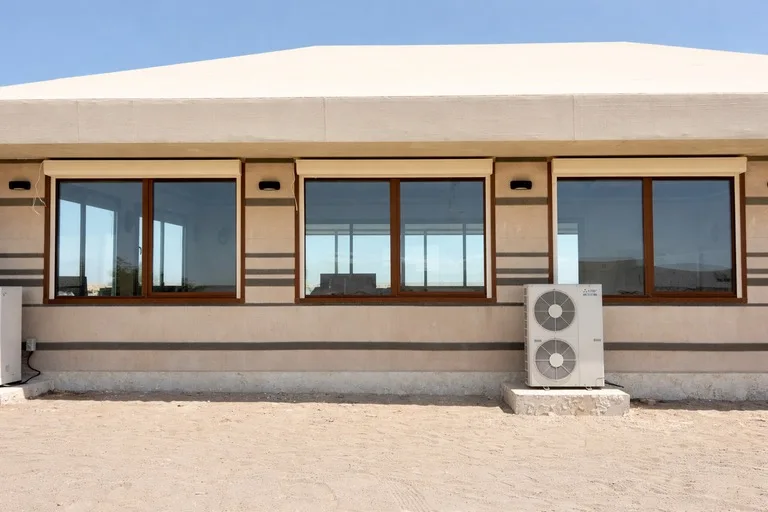
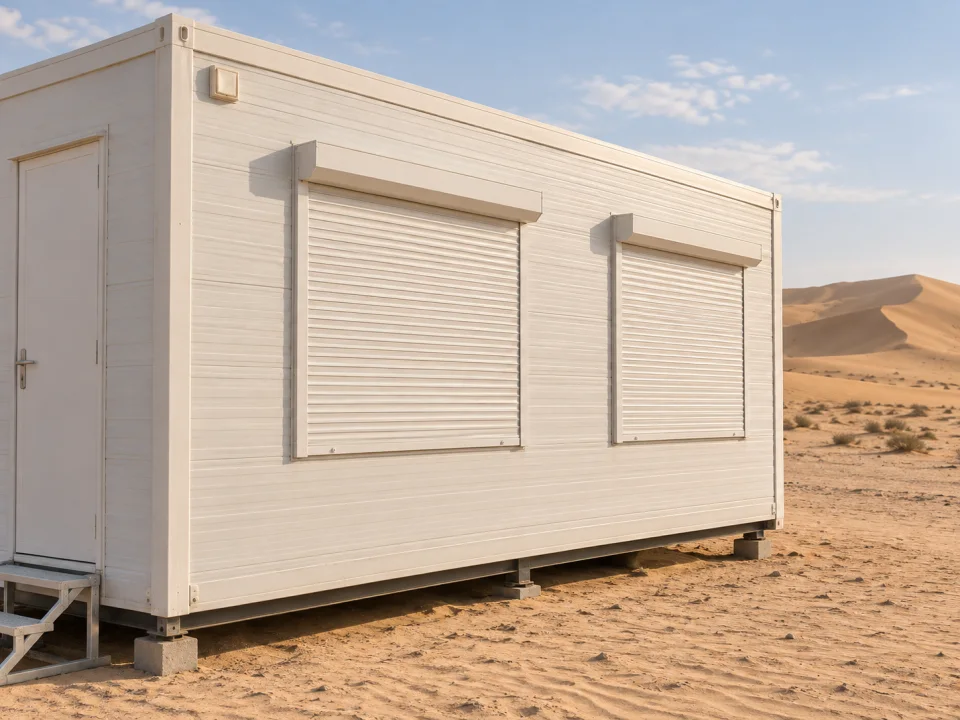
Illustrative daylight view of a white portable cabin with ivory roller shutters, surface-mounted boxes and side guides.
Daylight view · illustrated using our cabin and shutter references

Make your cabin easier to settle into.

For privacy during your stay, discuss window coverage and operation. For days away, review a suitable locking arrangement: closing a shutter does not necessarily lock it.

To start, send us

  • A photo of the windows
  • Your cabin location
  • How you use the cabin
Send a cabin photo

One cabin or a whole camp? Plan the fit.

Send the unit count, window schedule and project location. We can discuss fixing, operation and maintenance access requirements before specifying the configuration.

To start, send us

  • The number of cabins
  • Window photos or a schedule
  • Site location and fitting timeline
Send the unit details
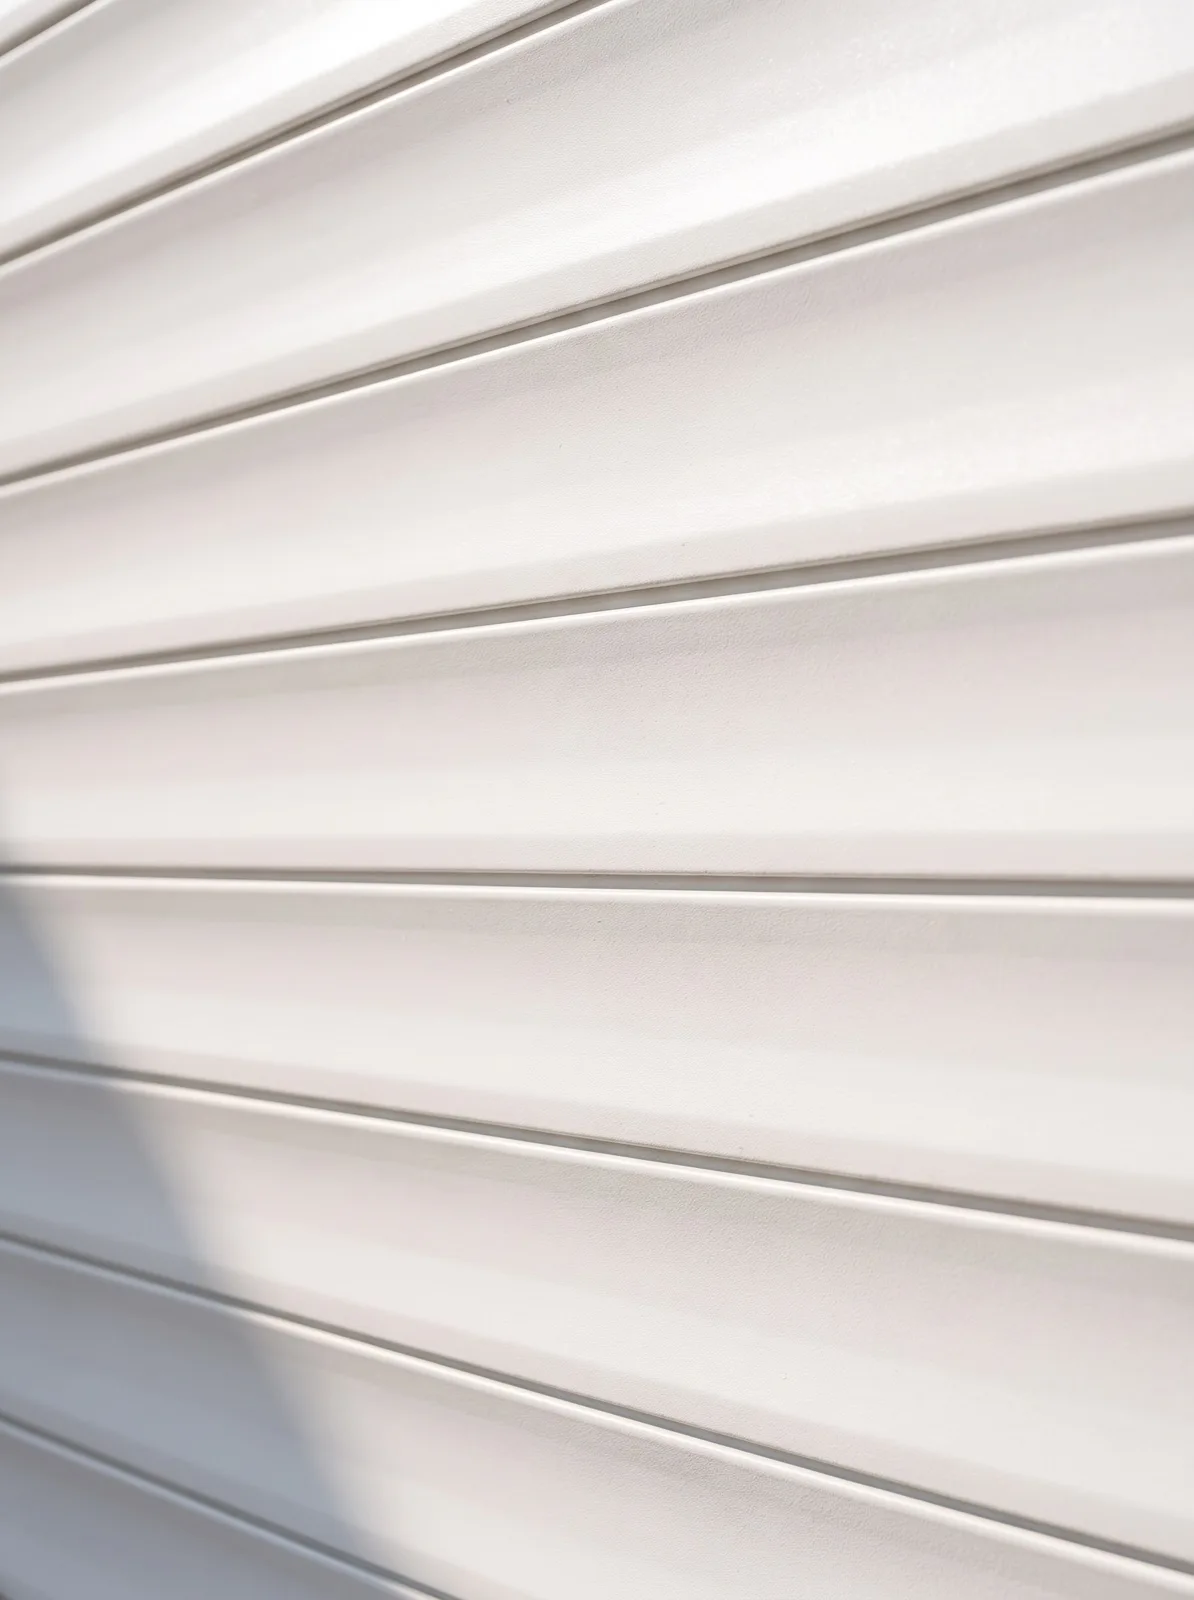
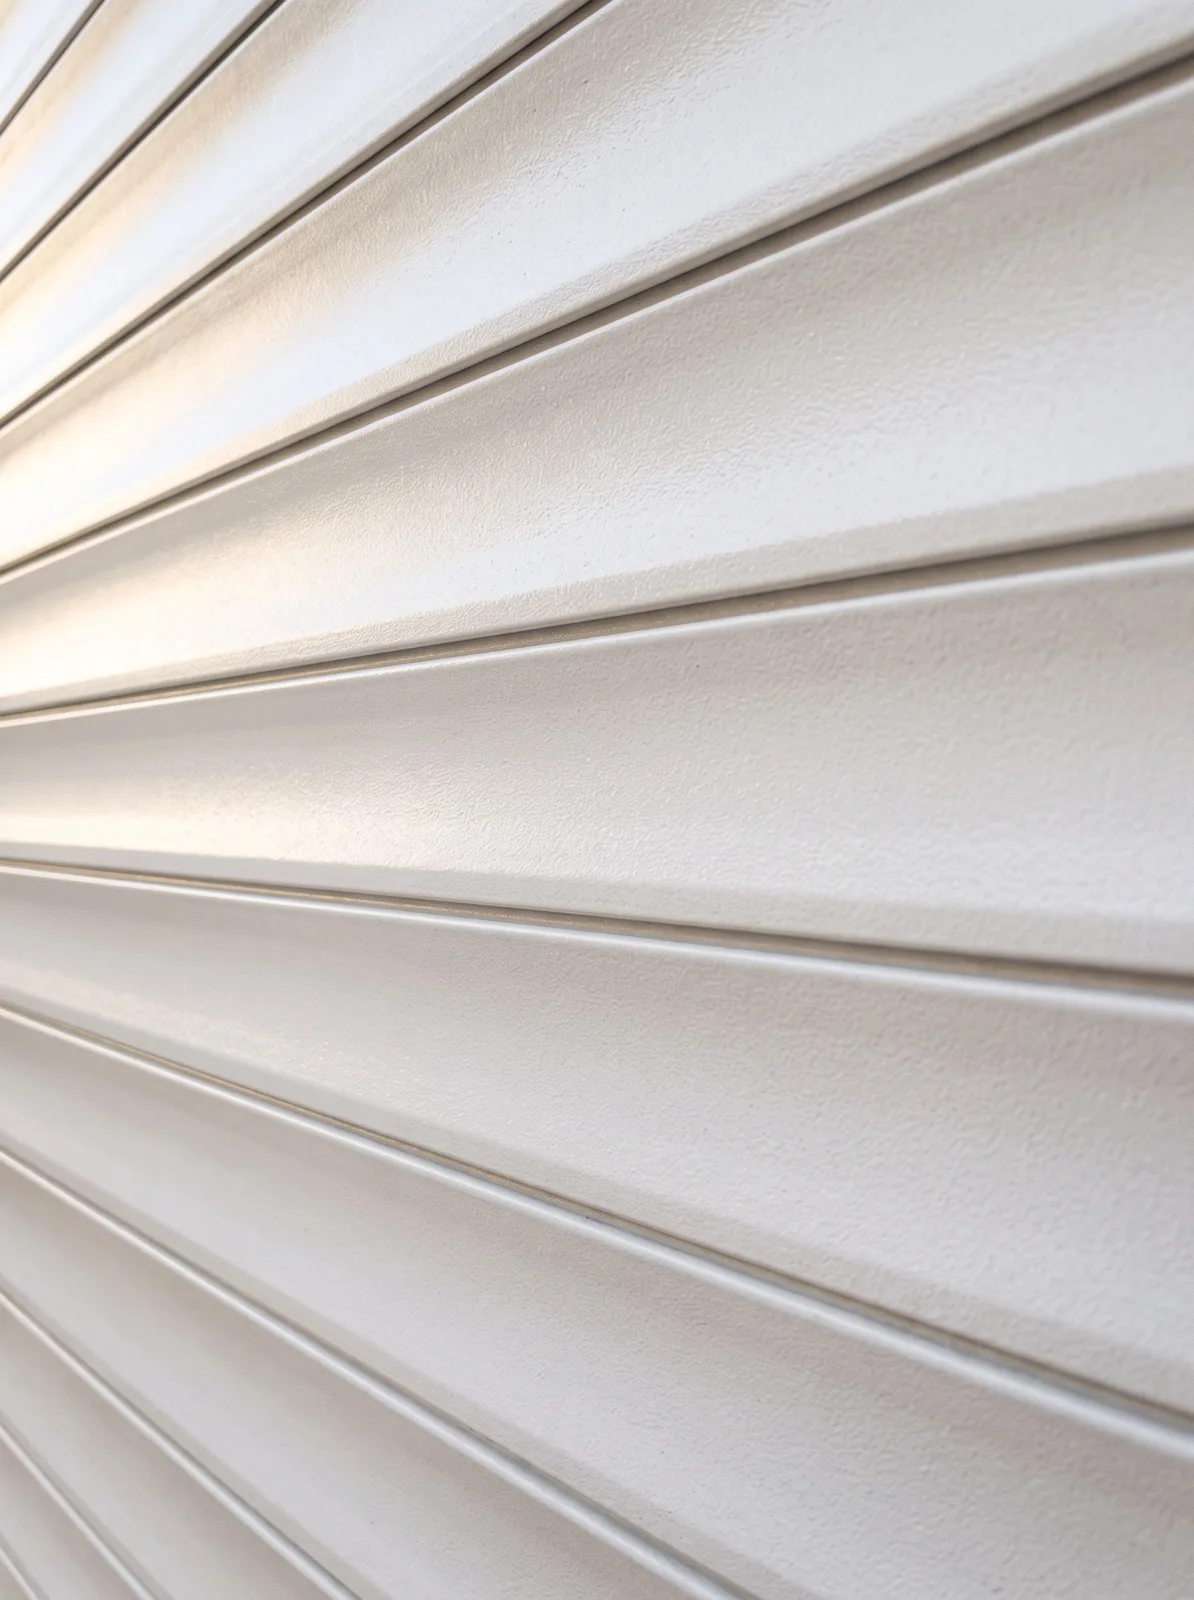
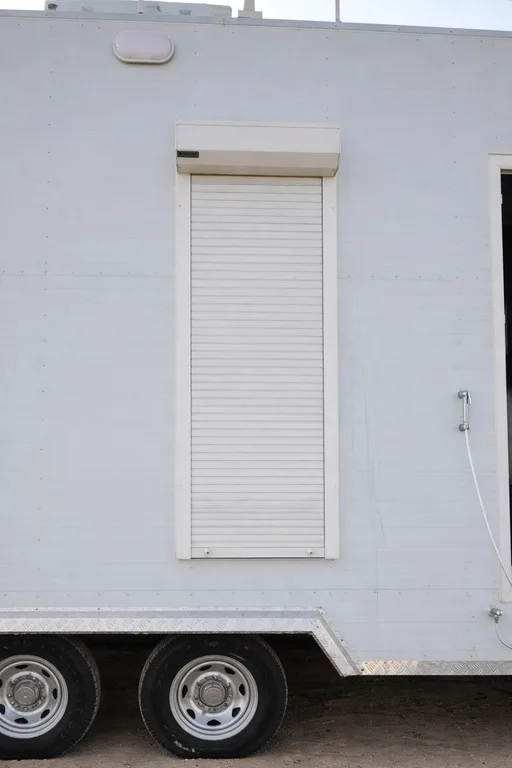
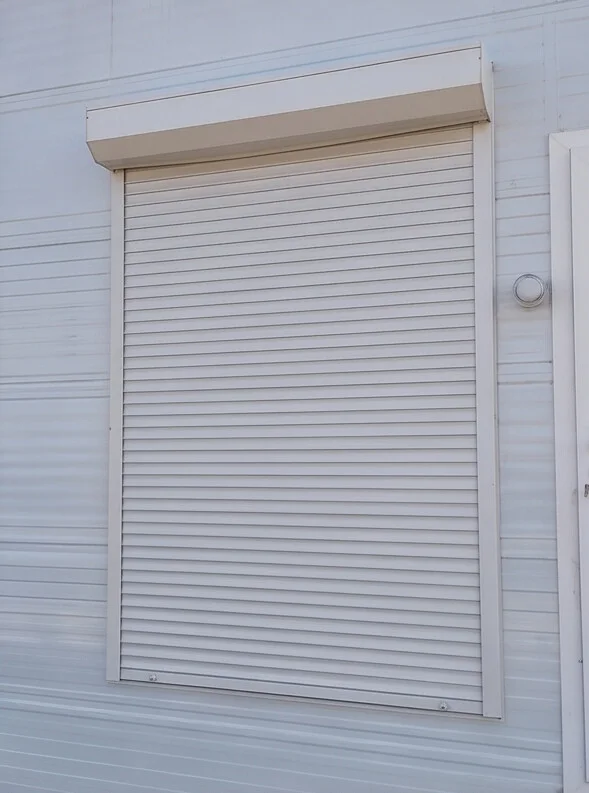
Close view of a closed roll-up shutter on a cabin window
From our reference photos · shutter box, guides and finish on a cabin wall

The details that matter

Made to fit the way you use it.

When the cabin is unattended

Choose a locking arrangement for the selected system. A lowered shutter alone is not the same as a locked shutter.

When the shamal arrives

Closed shutters put a covering in front of the glass. Track cleaning and access for maintenance belong in the plan, too.

Before the family returns

Consider exterior shading and privacy alongside ventilation and air conditioning. Thermal performance depends on the full cabin and shutter system.

Before you tow it out

Confirm how the shutter is secured for transport. The fixing method and travel position must suit the cabin and the selected system.

How will you close your cabin windows?

Consider the number of windows, control positions and available power when choosing operation. Discuss opening during a power cut and the locking arrangement before agreeing the configuration.

Explore the configuration

What you see outside.
What sits behind it.

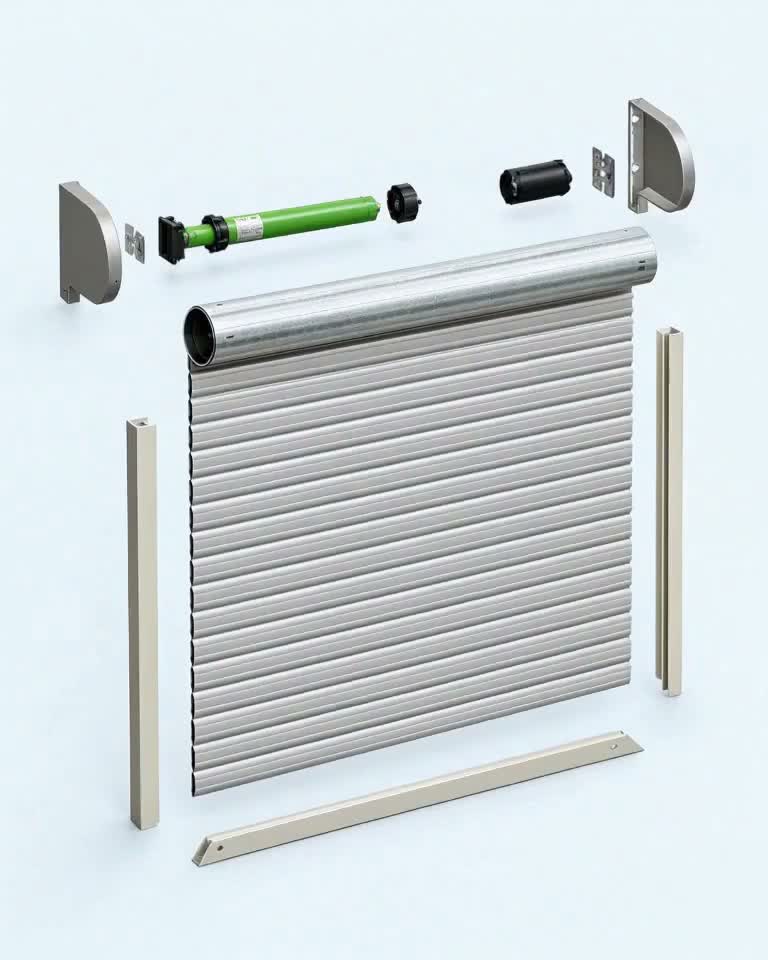
Box position, finish and operation shape how the window looks and works. This illustration shows how the shutter components come together.

Keep scrolling to assemble 01 / 03
Box position
The slats roll into the box when open. Its size and position help determine how the finished window looks.
The slats
Cover the window from outside when closed. Choose a finish that works with the stone or paint on your facade.
The guides
Guide the slats along each side of the window. Their position and fixing space are considered when measuring.
The window shutter box broken into its components: tubular motor, roller tube, slats, and side guide channels
WhiteBeige

Choose a finish. Discuss the fit.

White and beige are standard, with other colors on request. Share your preferences or let us help you choose. Final measurements can come later.

Send my choices on WhatsApp

Images are color references. The final sample, dimensions and operating method are specified with your order.

Looking for another color?

Which mounting suits your windows?

Building a villa or updating an existing home? The opening and available space determine box position and fixings. These details need reviewing before choosing a configuration.

Box Mounting Options

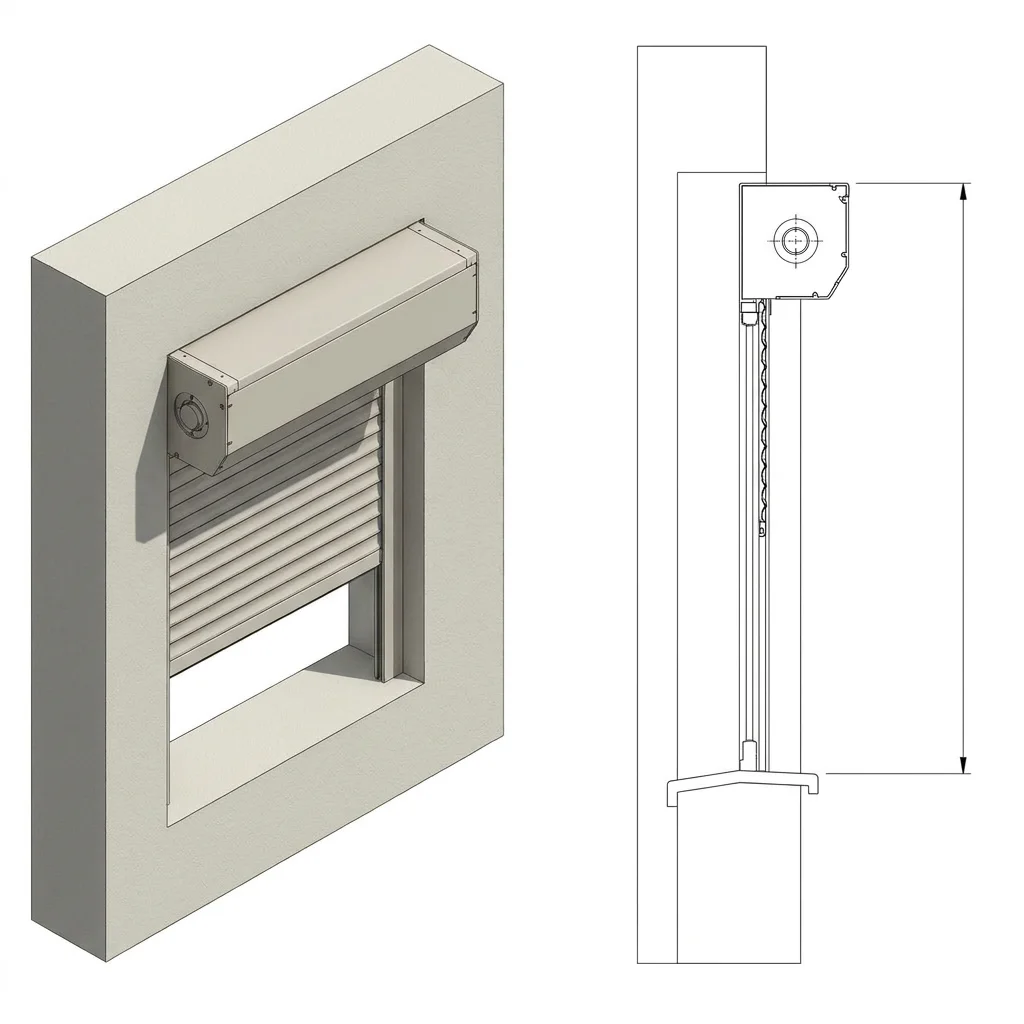
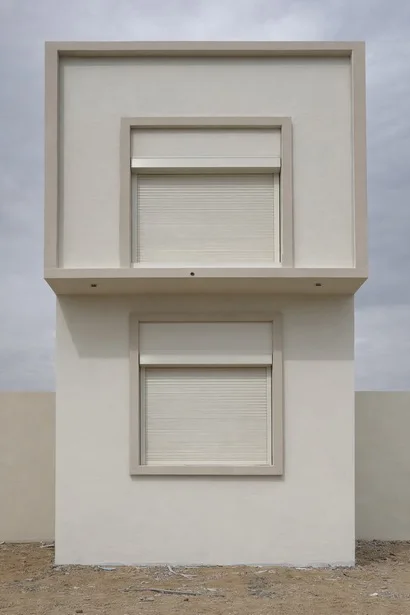
Surface-Mounted Box

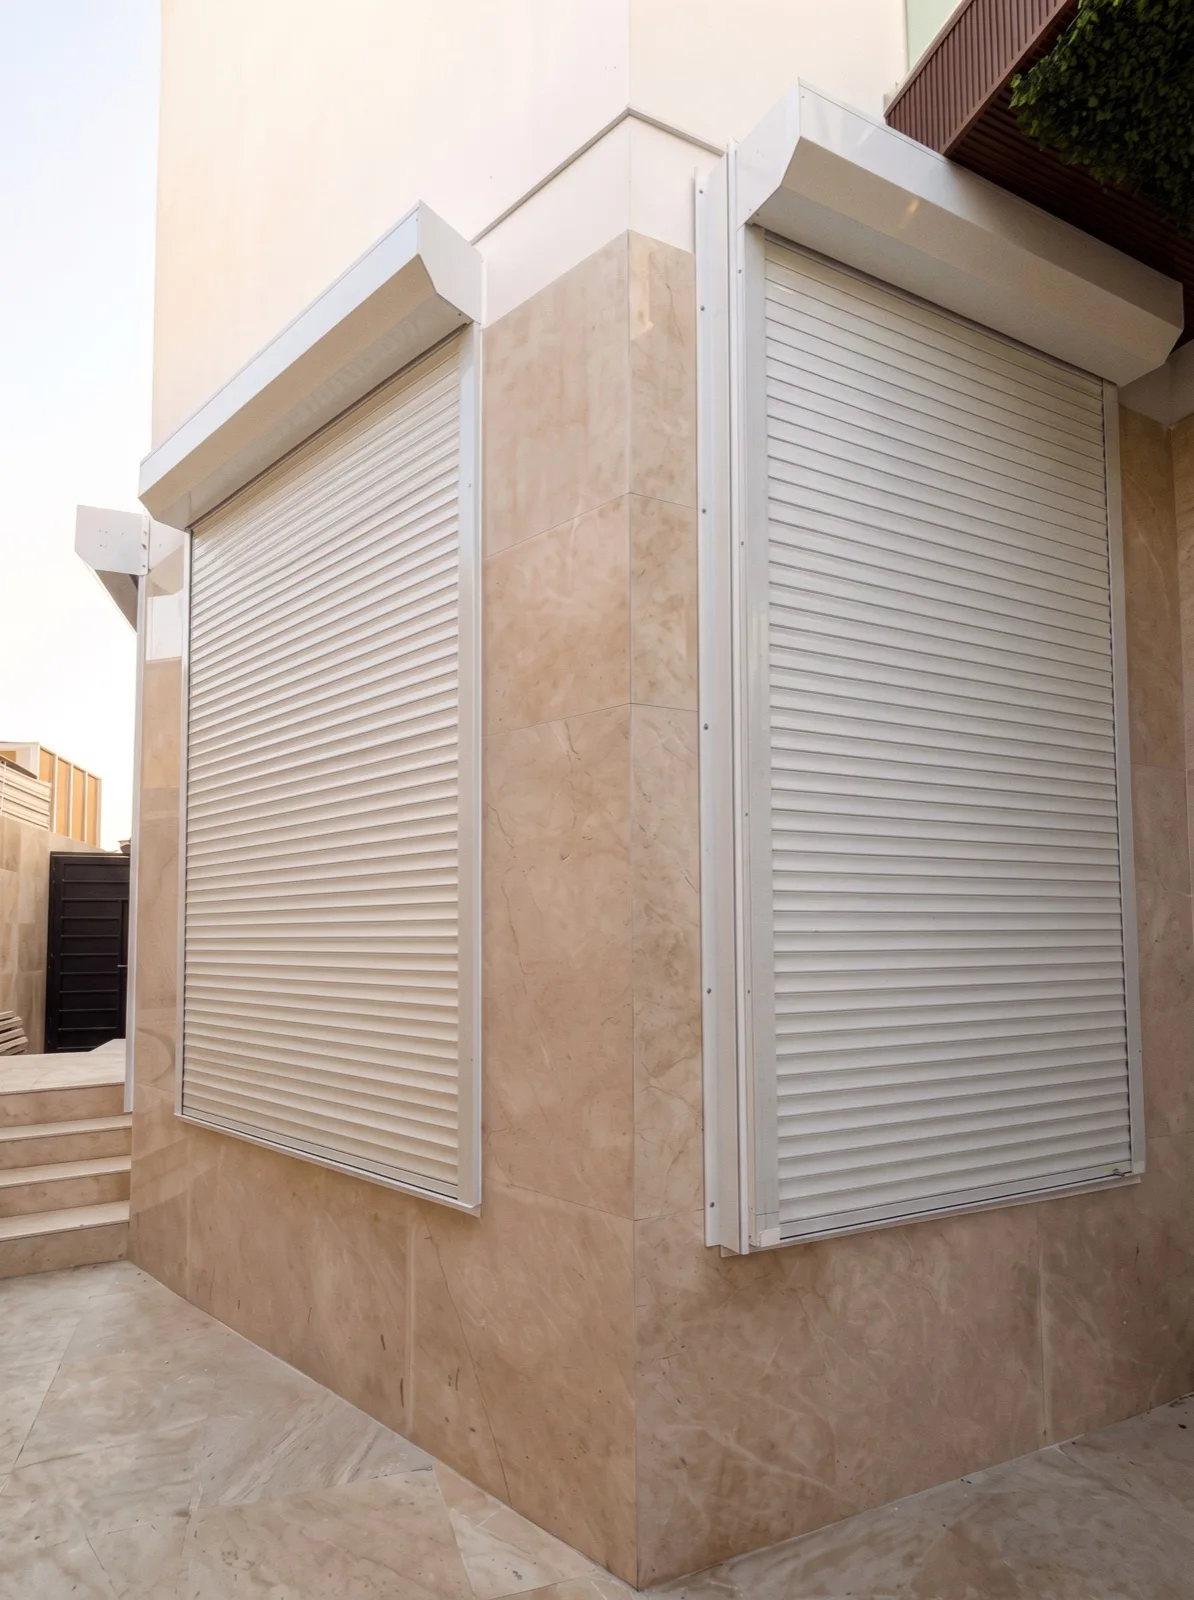
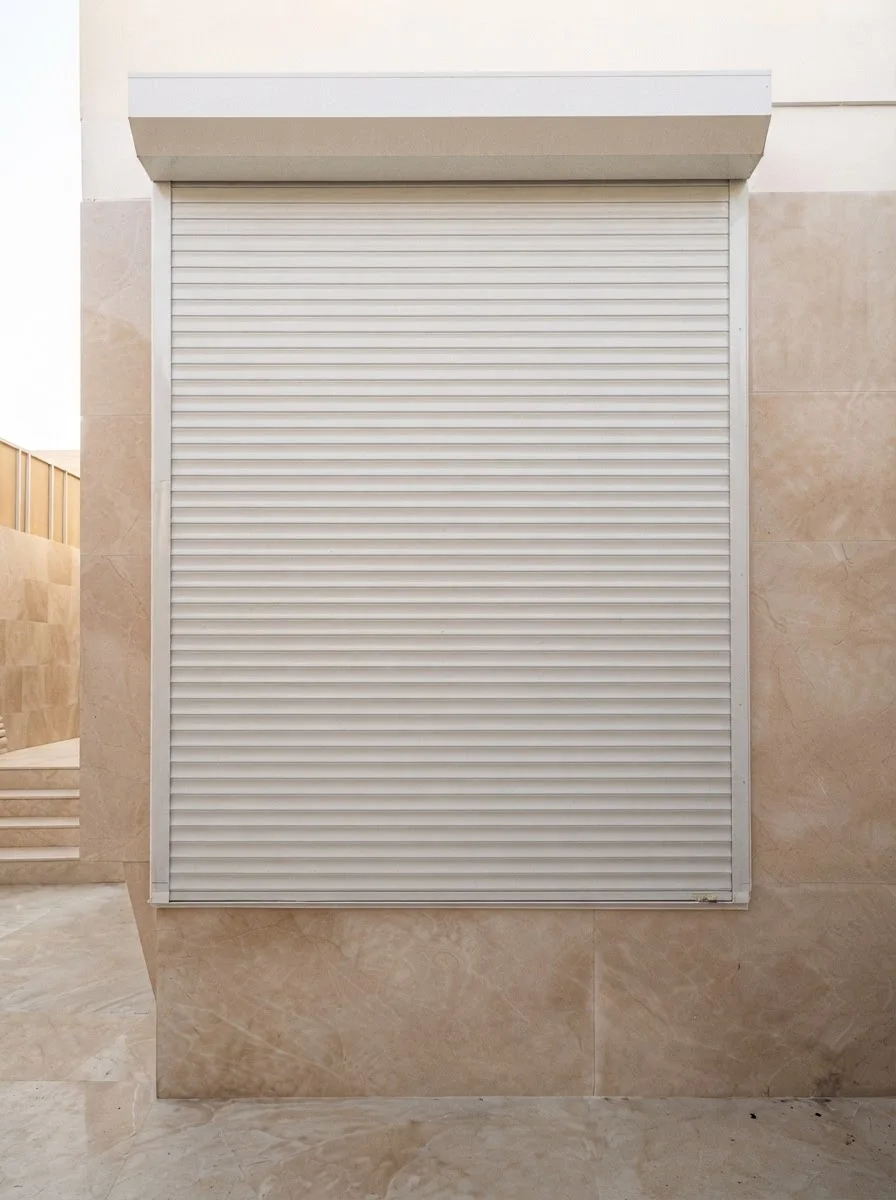
The box remains visible above the window on the facade. Discuss this option for an existing home after checking space and fixing positions.

  • Best forExisting homes and renovations
  • Finished lookBox visible above the window
  • Plan itAfter checking available fixing space
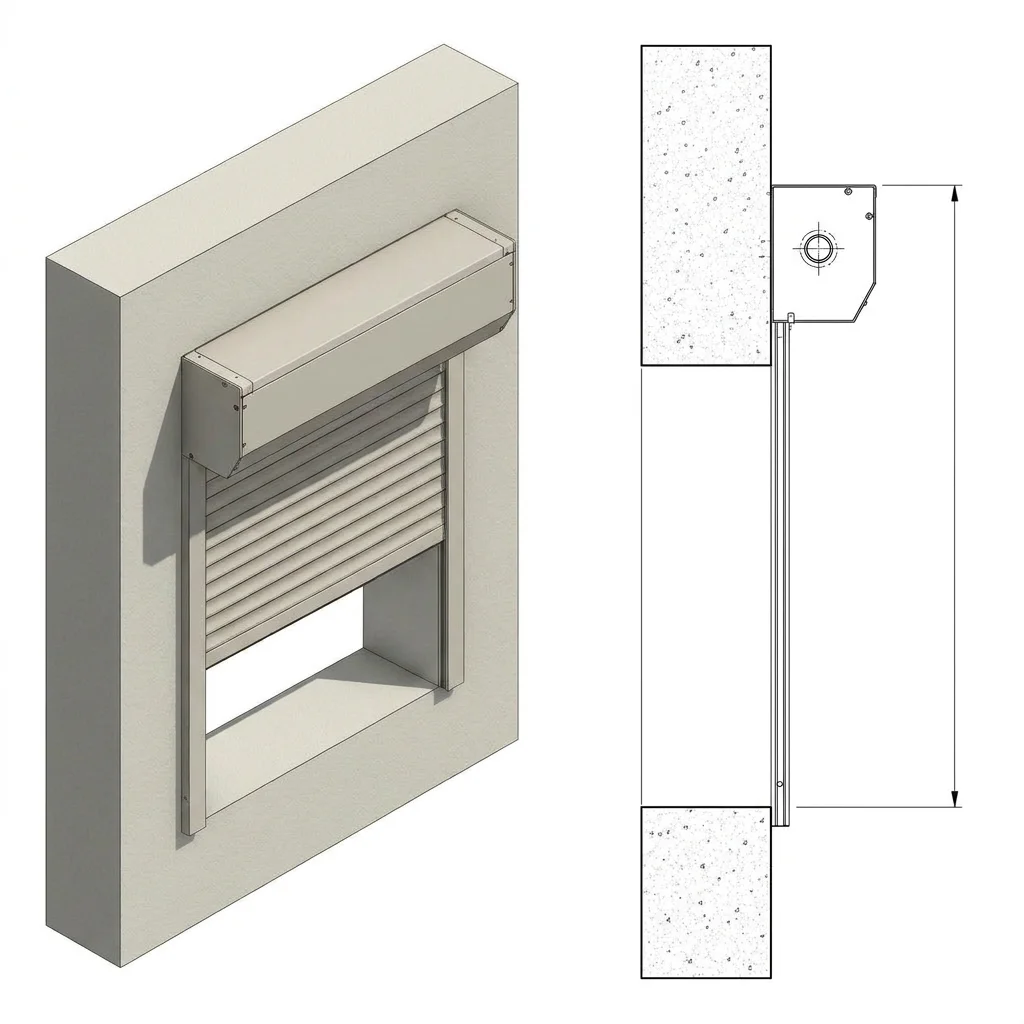
Surface-Mounted Box - The box remains visible above the window on the facade. Discuss this option for an existing home after checking space and fixing positions.
Surface-Mounted Box - Additional installation detail
Additional installation detail Select the image to enlarge the detail

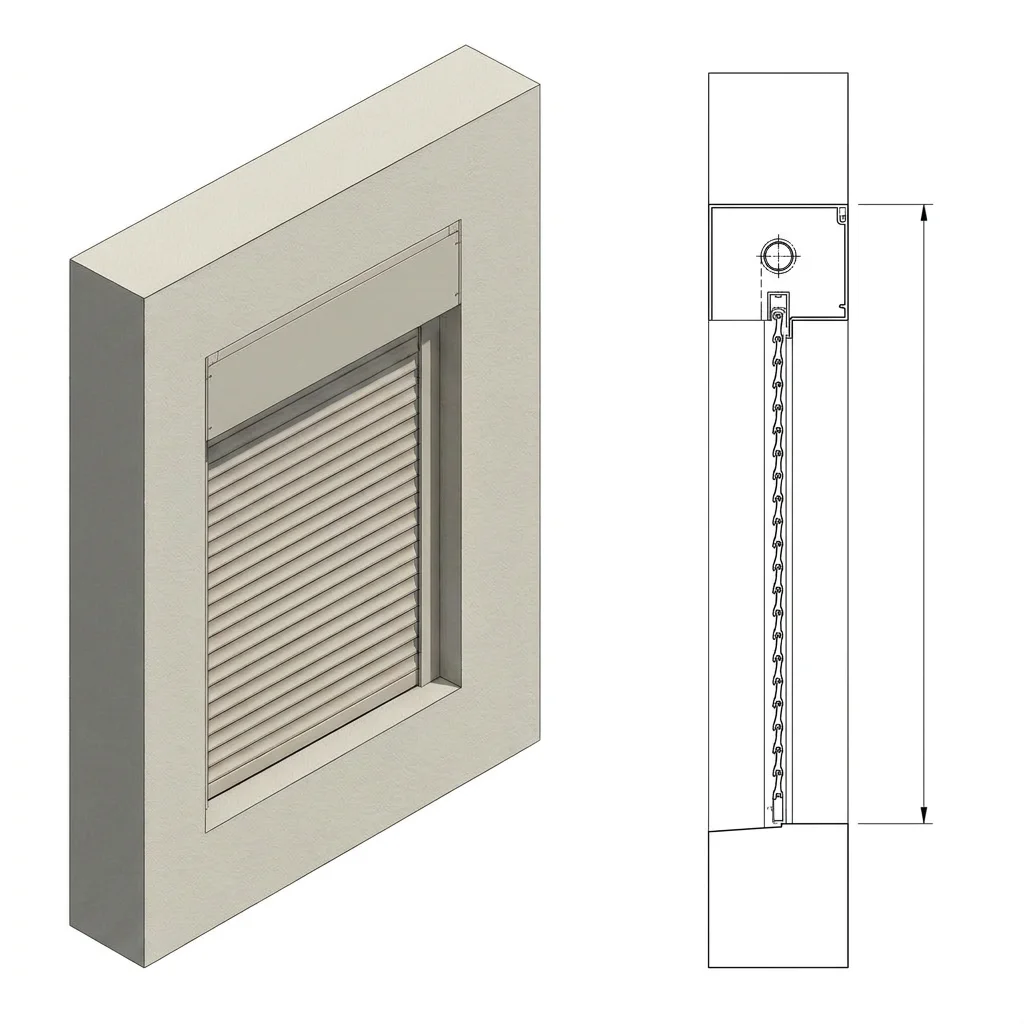
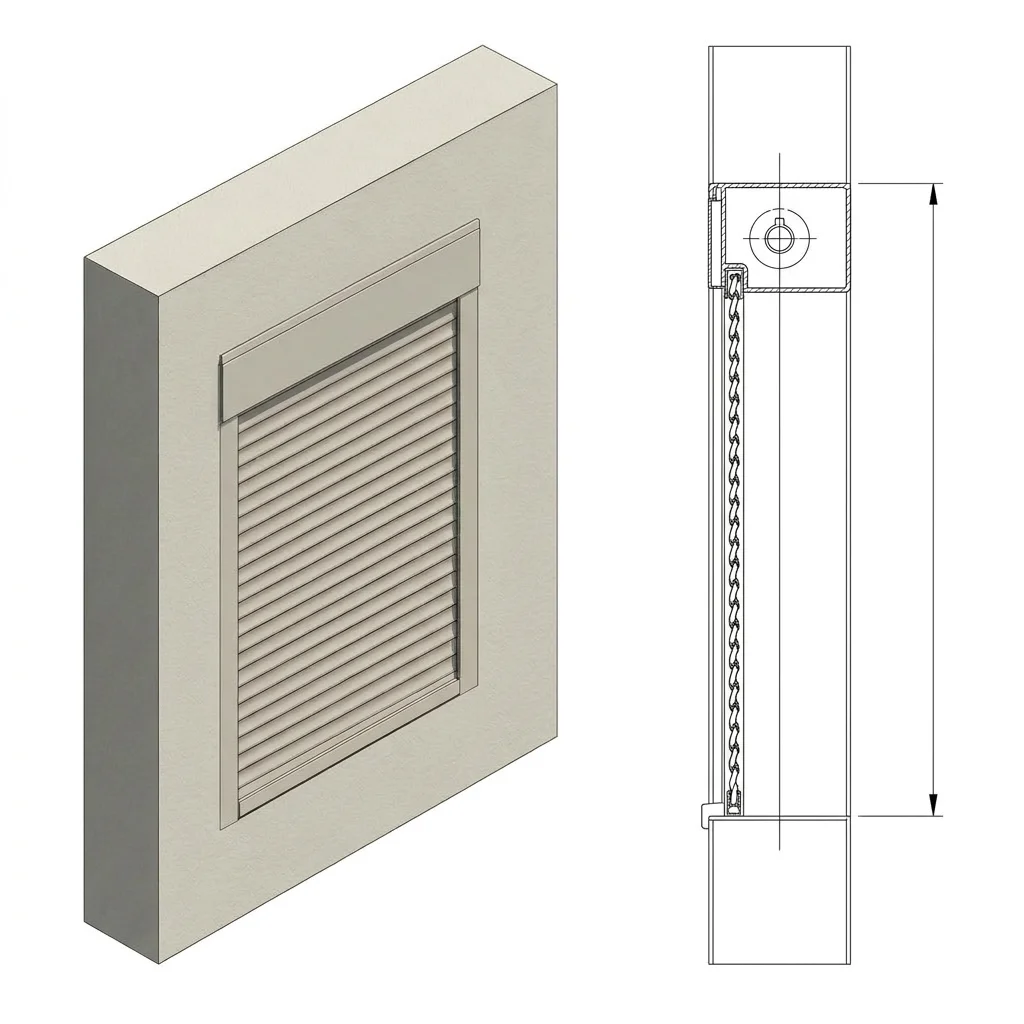
Concealed Box

The box is built into the construction where space allows. Discuss it early with your villa drawings; suitability depends on the wall detail.

  • Best forVillas under construction
  • Finished lookBox integrated into the wall
  • Plan itEarly, before finishing work
Concealed Box - The box is built into the construction where space allows. Discuss it early with your villa drawings; suitability depends on the wall detail.
Concealed Box - Additional installation detail
Additional installation detail Select the image to enlarge the detail
Configuration & measurement details
Material
Slat material and profile are specified for the selected system with your order.
Operation
Discuss manual or motorized options and controls for your windows and selected system.
Mounting
Surface-mounted (exposed) box or concealed, built-in box
Colors
Beige and White as standard, custom colors on request
Use Cases
Residential villas, commercial buildings, and porta cabins
Shutter box sizing
Box size is selected using profile winding tables, based on the slat profile, shutter height and roller shaft diameter.
Wind resistance, thermal & acoustic insulation
Performance ratings for the selected system and dimensions are confirmed before order approval; the installation reference does not provide certified values for these ratings.

Material, controls, dimensions and warranty terms are specified for the selected system with your order.

Measurement, installation and profile winding reference: Formstor
Your Team in Doha

Why plan your shutters with High Tech Hub?

Window and facade, considered together

We review box position, finish and operation with you, so your choice reflects both the look and the way you use your home.

A team you can reach in Doha

Share your window photos with High Tech Hub in Al Azizia. We start with your project details to identify what needs measuring and assessing on site.

Know what you are agreeing to

Review the configuration, installation scope and warranty terms with your order. Discuss electrical work, finishing and maintenance for your project.

From photo to specification

With High Tech Hub, know the next step.

A clear path showing what we review with you before the order is approved.

  1. Send a window photo

    Start with a photo or drawing and the project location. Add the number of windows and approximate measurements if available.

  2. Discuss the fit for your home

    We review box position, finish and operation with you. Tell us whether the home is built or under construction so we can identify what needs a site assessment.

  3. Review before you approve

    Final dimensions, installation scope, schedule and warranty terms are set out with the order, so you know what the work includes before agreeing.

Before you choose your shutters.

Can shutters be fitted to my existing windows?

Start with the opening and the space around it. Send an exterior photo to discuss box position, side guides and what needs a site assessment before deciding on the mounting.

Will the shutter box be visible?

A surface-mounted box remains visible above the window. Concealing it within the building needs suitable space and wall details. Explore the mounting examples, then discuss the option that suits your facade.

Will daylight still enter when the shutter is closed?

Closing the shutter screens the view from outside and reduces daylight and your view out. Light exclusion depends on the slats and configuration. Discuss the result you want for a bedroom or majlis before choosing.

Should I choose manual or motorized operation?

Consider the number of windows, their positions and how you use them. For motorized operation, ask about the power supply, control position and opening during a power cut. These details depend on the selected system.

Do I need measurements before contacting you?

You do not need exact measurements to start. A photo or drawing and the project location are enough for an initial discussion. Approximate sizes help if available; final dimensions and scope are reviewed before order approval.

What should I check about installation and warranty?

Review the installation scope, electrical and finishing work, and agreed schedule. Request warranty terms for the selected system, including coverage, exclusions and how to arrange maintenance, with the order details.

Planning shutters for a client?

For contractors and designers: share drawings, window quantities and the project stage to discuss installation and configuration requirements.

Send the project details

The right shutters
start with your window.

Send a photo or drawing, with the project location and number of windows if available. We can discuss mounting options and the next step. You do not need exact measurements to start.

Send a window photo

Or fill in a short form